n this part I will tell you a little about how the steel HMM was made. The basis for this I described in a short article for Figure Mentors Magazine (http://figurementors.com/step-step-guide-painting-nmm-beginners-sergey-gybin-aka-ravenswood), now it's possible to describe it a little more. Consider the color scheme in terms of two parameters: the lights and the colors.
The Lights. Most of the surfaces in this miniature are cylindrical, so that the highlights will be in the form of lines of different levels of lightness. I chose the place for the main light in dependence on the imaginary light source, and broke our cylinder into several zones: sparks, light, midlight, midshadow, additional light, shadow. Further, we highlight these zones using our color track. I usually go from the darkest colors to the light ones with layering, but in principle the way of painting could be completely different, if only the results would coincide.
The Colour. In this miniature, I used the usual color scheme for the brown-blue steel of the NMM, with dark brown shadows, a more gray primary light and bluish reflections (additional light).
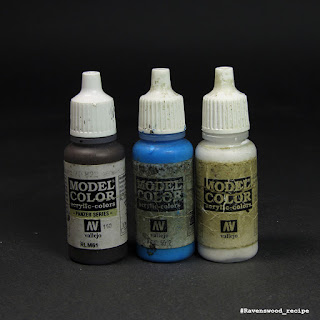
The scheme based on German cam. Black Brown, Andrea Blue and White (all Vallejo Model Color) Also I made additional glazes dark brown and purple in the shadows (Smokey Ink and Hexed Lichen - both from Vallejo Game Color) and painted here and there a reflection from the bronze elements (Brown and Dark Tangerine - both from Pacific88 art-color).
Previous Parts:


No comments:
Post a Comment